When you want users to fill out templates in their own language, but you don't want to merge the data afterwards, you can use the translation function. After you've completed these steps, your colleagues can choose one of the available languages to answer the questions in.
Follow these steps to make your template available in an additional language:
1. Check if your template is ready for multi-language
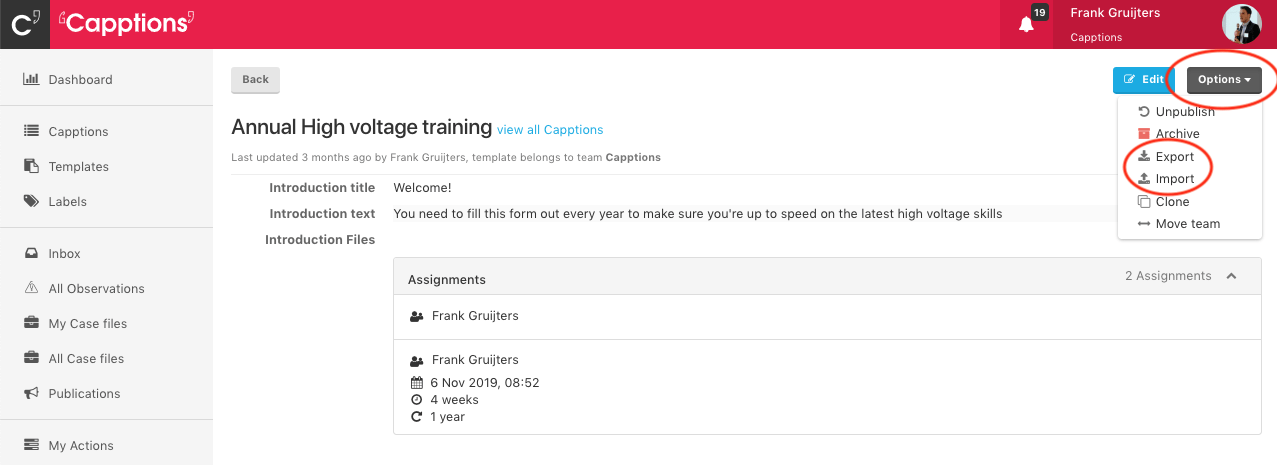
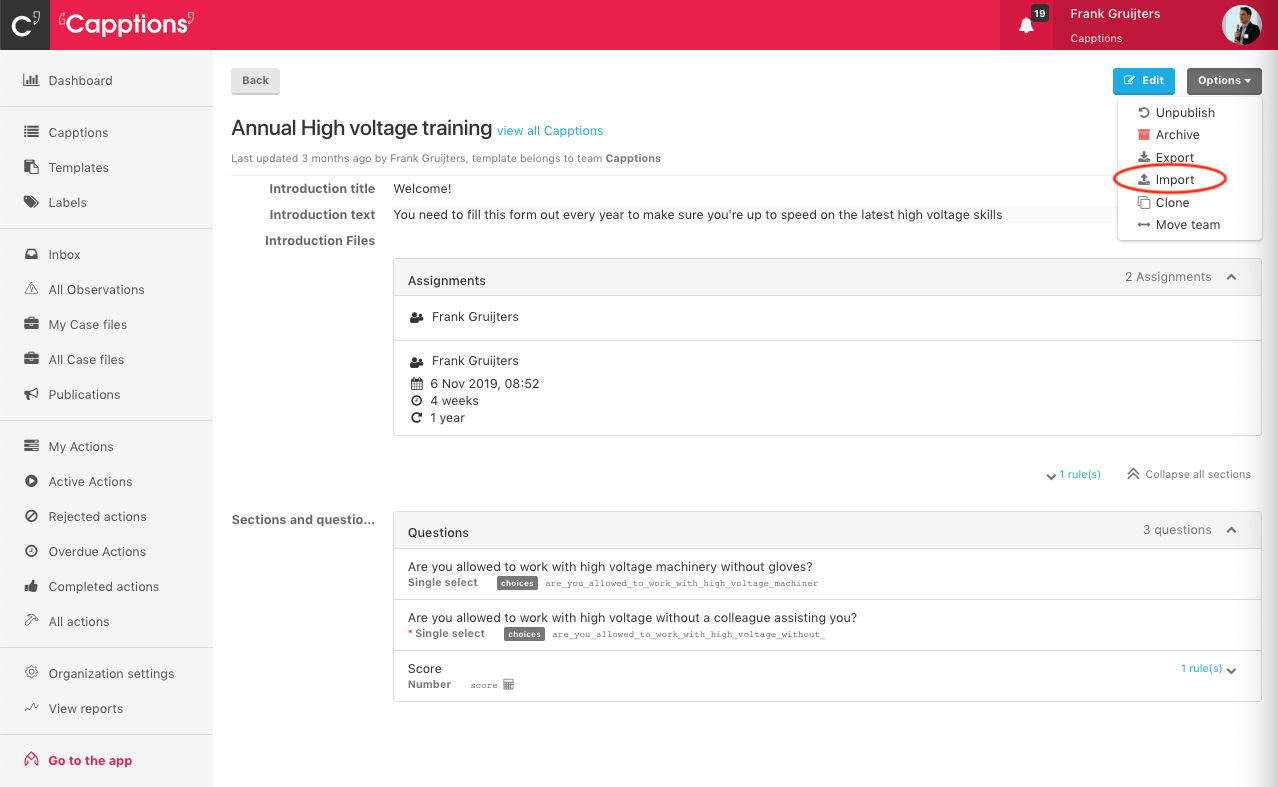
You can do this by opening your template and then hit the 'Options' button in the top right corner. If there are no import and export buttons there, please get in touch with our support.
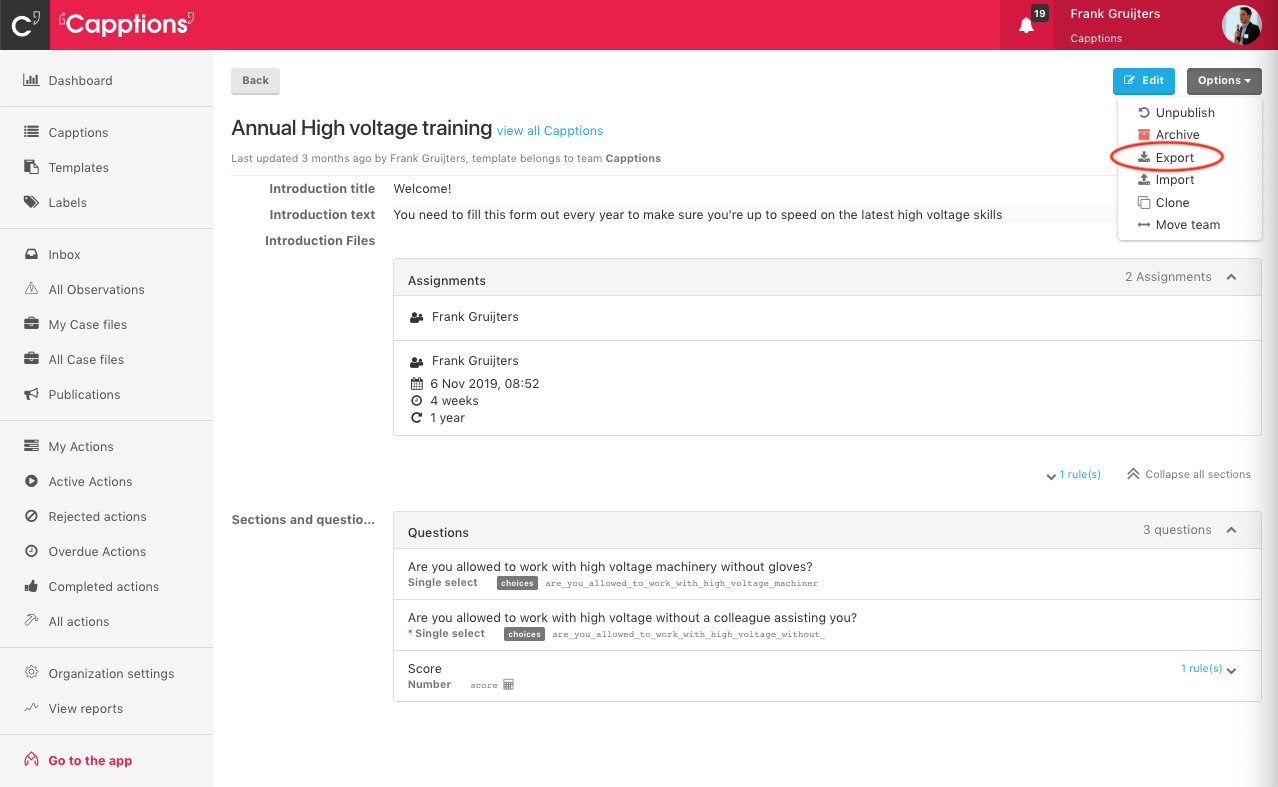
2. Export your template to Excel
Hit the 'Export' button to download your template to Excel.
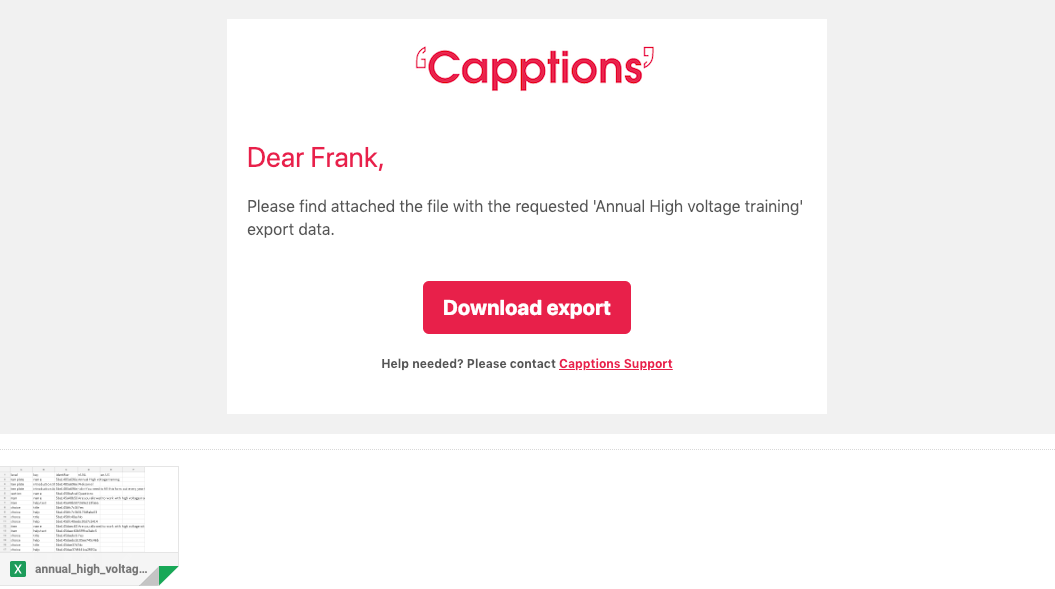
3. Open the email with the Excel file
Go to your inbox and find the email.
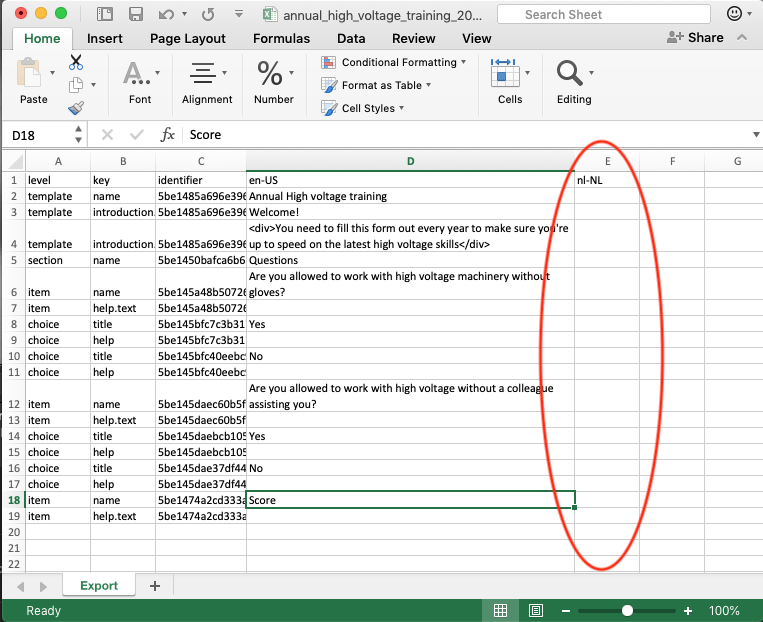
4. Add the translations
Add your translation in a new column. Make sure to add the right language code in the top row. Don't forget to save the file after you've added the translations!
5. Import your template back into the platform
Once you've completed the translations, go back to the platform and hit the 'Import' button. Select your file and upload it.
5. A notification email is sent when the upload is completed.
6. BOOM! You are ready to go international!